Whenever Windows 10 comes with any updates, it will bring multiple features to the device. But sometimes these may cause problems also. For example, users have encountered a problem regarding LogiLDA.dll, a Logitech file. So whether you connect any Logitech devices to your computer, ensure that this file is on the PC.
The error messages might appear after starting up your device or being turned on, awakened from sleep, or restarted. If you are using an old PC or your PC is running many tasks at once, the warning may appear after some minutes when the Windows 10 system becomes active and usable.
If the problem exists on the computer, you will see the message while booting your Windows 10: There was a problem starting C:\Windows\System32\LogiLDA.dll — The specified module could not be found. This article lets you learn how to resolve the system32 logilda.dll issue and prevent it from happening.
What Is the LogiLDA.dll File?
LogiLDA.dll is a Dynamic Link Library file of Windows, a Logitech Download Assistant software component, meaning a legitimate process file. The location of the file is the C:\Windows\System32 folder.
You can find the Logitech Download Assistant installed on the computer while it is attached to a Logitech device, like a Logitech gaming mouse or keyboard. It mainly checks new Logitech drivers and software updates. When you see any essential files for the function are damaged or missing, this problem will appear.
What Causes the LogiLDA.dll Error?
You can encounter a problem if the file is directly affected. The usual causes of the problem include:
- The file is not installed correctly, or you use an unsupported version.
- File corruption in LogiLDA.dll or the file location.
- Software conflicts.
- A Windows 10 update may cause an issue while finding the file in the wrong directory.
- Missing or corrupted files are the most common cause of the problem.
If you can not access the file and its contents, the Logitech Download Assistant will fail to launch. Instead, it will showcase the error message: There was a problem starting C:\Windows\System32\LogiLDA.dll.
Guide To Fix LogiLDA.dll Errors in Windows 10:
These solutions are for PCs, laptops, and tablets supporting Windows 10, running Windows 7 or 8.1, etc.
Restore the LogiLDA.dll File:
Dynamic link library files often get corrupted, missing, or get deleted. Numerous sites can assist you in downloading and replacing a .dll file.
You should download the file from a trusted source to solve the problem. Never download files without knowing if it is legal to use in your country. Sometimes, it is dangerous to acquire these files from a third-party website. However, you can avoid facing the issue of the DMCA and related laws.
- Your first task is to head toward dll-files.com in your preferred browser. It is advised to use this website when downloading missing DLLs.
- Scroll down the page to find the file. First, ensure that you should check for the architecture and version number. Then, hit the Download button.
- Finally, you should install the file accurately onto the PC.
Remove Logitech Download Assistant From Startup:
Disable the Download Assistant to boot the PC and fix the windows system32 logilda.dll error. Remember that once you apply the process, you must manually find the Logitech driver and software updates.
- Your first task is to tap on a space in the taskbar. Next, you should select Task Manager.
- Once you see the Task Manager launching in compact mode, you must expand the details. In this case, you should hit the “Mode details” button.
- Now, move to the Startup tab. Tap on the Logitech Download Assistant and choose Disable from the context menu.
- Finally, you should reboot the PC to see if the dll error on startup exists.
Make a Registry Edit:
After disabling the Assistant, if your problem remains, try to delete the corresponding key from the Registry. Then, follow these steps to perform the process.
- Hit the magnifying glass icon to open the search bar in the taskbar. Then, if you want, use the Windows + S keyboard shortcut to bring this up.
- After that, your job is to write “RegEdit” or “Registry Editor” in the search box. Then, tap on the matching search result to launch this application.
- You should take the help of the Navigation pane to reach the Registry key. Instead, you may use the address bar and copy the file’s location. After that, you should paste the file location: HKEY_LOCAL_MACHINE\Software\Microsoft\Windows\CurrentVersion\Run.
- Tap on Logitech Download Assistant, and choose Delete from the context menu to remove the Registry key.
- You should tap Yes to confirm once the dialog box opens.
- Restart the PC and check if the dll error Windows 10 exists.
Uninstall Logitech SetPoint:
The error may not be connected to the Assistant but could be connected to different software. If you are willing to test this, uninstall the SetPoint. Check if the issue exists on the pc.
- Tap the Windows + R keys on your system keyboard to bring up the Run utility.
- You should write “control” without quotation marks. After that, hit the Enter key on your keyboard to launch the Control Panel app. First, ensure that your view mode is set to Category. After that, tap on Uninstall a program.
- Tap on this version and hit the Uninstall button to remove the software.
- Finally, you should reboot the PC to check if the dll missing problem exists in your System.
Reinstall Your Mouse Drivers:
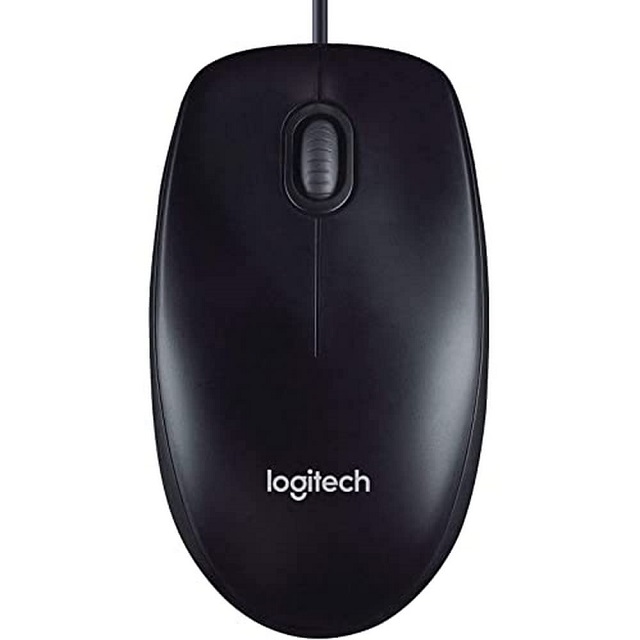
Whether you currently use a Logitech mouse, try reinstalling the drivers to solve the problem. You can perform the step by following the steps.
- Tap on the Windows + X keys on the keyboard. After that, you should select Device Manager from the context menu.
- Next, you need to expand the Mice. Tap on the Logitech mouse. Next, choose the option “Uninstall device to remove the driver.”
- Disconnect the mouse and reboot the PC. Once you boot, you should try to connect the mouse back to reinstall the drivers.
- At last, check if the file reappears after uninstalling the mouse drivers.
Download the Logitech Gaming Software:
It is a new app used to update your hardware. In this case, your first task is to uninstall the Assistant. Next, try to download it from the Logitech website. It helps to fix issues without losing update functionality.
You can download the Gaming software. Besides, you may use the Logitech G HUB for further hardware customization and functions.
Update Windows 10:
Try to upgrade your Windows to the newest Windows 10. It enables you to fix bugs, bring new features, patch security holes, etc. These are the steps you should follow.
- Hit the Windows icon in the display’s bottom left to bring up the Start menu.
- After that, you should select Settings. Instead, you may use the Windows + I shortcut.
- Hit the Update & Security tile. You can find most Windows Update settings here and select when to receive updates.
- Ensure that you should stay on the default Windows Update tab. After that, hit the Check for updates option. Then, wait until your Windows 10 can’t find available updates.
- Once you see the available updates, please tap on the View all optional updates link to see and install them.
- Whether you find any updates, tap on the Install option. Then, wait till your Windows 10 is not downloading essential updates and apply these.
Use CCleaner:
Whether you want to avoid Windows Registry issues, try to use automated software like CCleaner. It is a program launched in 2004. This small program is primarily for PCs that can delete useless files. But these aren’t limited to temporary files, broken shortcuts, etc. You need to follow these steps to delete the Assistant Registry.
- First, you need to go to the CCleaner app to download this from the official CCleaner website.
- Then, install the application and run it.
- You should choose Tools and Startup from the app’s main menu.
- Find Logitech Assistant and delete it. Thus, it is possible to delete the Assistant Registry without damaging the Windows Registry.
- Finally, you should reboot your System for the changes to take effect. Then, check if you are experiencing the issue.
Use a Third-Party App:
The System 32 logilda.dll error can occur because problematic files on your PC are required to be addressed. It is possible to install a third-party system restoration app to scan devices for corrupted files, data, and malware. After that, the app will remove or repair them.
Hence, you should try to fix the issue by launching and following the on-screen instructions to start the process. Then, try to perform the software’s automated processes to cover everything. After that, you can fix the issue in these ways.
- Your first task is to download the app and install it after that.
- Now, you need to launch the software.
- Next, you may scan the computer for stability issues and possible malware.
- Tap on Start Repair.
- Finally, you should reboot the computer to take effect.
Once you complete the process, you will find the new computer. Thus, you won’t need to see BSoD problems, slow response times, or other similar issues.
Perform an SFC Scan:
If you want to resolve any stability problems, you should run the System File Checker (SFC). This checker prevents it from loading the file, which launches the Logitech Download Assistant.
If you want to perform this scan, you should first open an elevated Windows PowerShell console. Hence, you need to hit the Start button. After that, choose Windows PowerShell (Admin)) and run this command:
sfc /scannow
Clean the System Registry:
Sometimes, problems regarding the Registry can prevent the Assistant from loading on the PC. However, it is possible to fix any outdated or broken registry entries with the help of a free registry cleaning app.
Once you have installed a registry cleaner, perform a Deep Scan for registry problems. After that, you should choose the Clean option to fix the problem. Remember that the complete method won’t take a few minutes to complete.
Perform a System Restore:
Try to perform this method if you are willing to disable the Logitech Download Assistant from loading at startup. It enables you to revert the OS to a time when the issue didn’t appear.
In this case, you should tap on Windows + R to open the Run box. After that, you need to execute your sysdm.cpl command.
Your job is to move to the System Protection tab and choose System Restore on the System Properties box. Next, you should choose Recommended restore. Then, at last, revert to the current restore point.
Conclusion:
This guide wraps up every detail required to know about the LogiLDA.dll error file. In addition, we have given all the necessary methods to fix its related problems. After performing the essential techniques, you can use your Logitech-branded peripherals and devices.
Frequently Asked Questions:
- Where should you put Logilda.dll in Windows 10?
It can install itself automatically. Therefore, there is no need to place it manually anywhere. If you have to manually put it somehow in its correct place, ensure that you must keep this in the C:/WIndows/System32 folder.
- What do you do if you accidentally uninstall Logilda.dll?
You must disconnect and reconnect the device to the PC to reinstall it.
- What is LogiLDA DLL used for?
It is part of the Logitech Download Assistant. You can use this to check for updates to the drivers for Logitech devices, including mouse, keyboard, video cameras, etc., whenever Windows starts up.
