


Nowadays, SDR radio technology has increased significantly. In the hardware field, advances mean the prices have fallen, and performance has improved. As a result, these are available now, from high-end communications equipment to standard USB plug-in modules.
What Do You Mean By SDR Radio?
SDR radio is a wireless device. It has a configurable RF front end with an FPGA or programmable system-on-chip (SoC) used for performing digital functions. You can use its hardware to transmit and receive signals at different frequencies. Thus, you can implement wireless standards from FM radio to 5G, LTE, and Wi-Fi.
Wireless engineers use the hardware as a real-time platform. They use it for different wireless engineering tasks—
- You can do over-the-air lab and field testing with live RF signals
- Rapid prototyping of custom radio functions
- Hands-on learning of wireless communications concepts and design skills
SDR Radio: About This Wireless Device:
It is a communication system that uses software to modulate and demodulate radio signals. The system is responsible for major signal processing in a PC or a reconfigurable piece of digital electronics. It runs a new software to create a radio to receive and transmit a new protocol form.
These come with a utility for cell phone services and can serve multiple changing radio protocols in real-time. Besides, the system has a superheterodyne RF front end, which you can use to transfer RF signals from and to analog RF signals. In addition, it is useful for analog to digital converters and digital to analog converters. You can use these to transfer digitized intermediate frequency (IF) signals from and to analog form.
People can use the system to implement simple radio modem technologies. Therefore, we expect the system to become the dominant technology in the future.
SDR Radio Benefits:
- You can reconfigure these “on the fly.” It indicates that the universal communication device can correctly configure itself for the environment. In this case, the device may be a cordless phone one minute, a cell phone the next, a wireless Internet gadget the next, and a GPS receiver the next.
- You can upgrade them quickly with enhanced features. Hence, it is possible to deliver the upgrade over the air.
- They can talk and listen to many channels at the same time.
- Smart or cognitive types allow you to see the utilization of the RF spectrum in the instant neighborhood. You can configure these for the best performance.
Disadvantages:
- Analog to digital converters don’t allow the digital section to use higher frequencies.
- The basic platform is very costly for simple radios.
- Its development needs both hardware and software skills.
It is the first system entity causing the hardware to become enriched with software. In its beginning, there were two concepts: reuse of hardware components and flexible control of components.
Let’s understand these two concepts with an example. Reusing Viterbi codecs for voice coding and channel coding purposes is an example of the first concept. Baseband processing is an example of the second concept. In this case, you can change the characteristics of the sender and receiver on-the-fly. The idea was implemented in software instead of hardware. As a result, it provides high flexibility in hardware components. People use it to limit the potential baseband configurations.
SDR Radio History:
It is a system where the properties of carrier frequency, signal bandwidth, modulation, and network access are available. In addition, however, modern ones can implement any necessary cryptography, forward error correction coding, and source coding of voice, video, or data in software.
The roots of its design were in 1987, while AFRL gave money to develop a programmable modem as an evolutionary step. But it did step beyond the architecture of the integrated communications, navigation, and identification architecture standing for ICNIA. Instead, it was a federated design of multiple radios indicating a collection of single-purpose devices.
In recent times, people have used these devices for general purposes. In this case, you can use the same radio tuner and processors to implement many waveforms at multiple frequencies, and it is cost-effective and more versatile.Besides, you can upgrade it with new software for new waveforms. Moreover, you can use new applications to upgrade after the sale, delivery, and installation.
SPEAKeasy-I
SPEAKeasy-I was a rack of equipment with a height of six feet. But you can not carry it easily. However, according to this, we can create a software programmable radio. Besides, it has a software programmable cryptography chip we know as Cypress, and Motorola Government Electronics Group developed it.
SPEAKeasy-II
SPEAKeasy-II was a complete radio and available in a suitable radio size. It appears as the size of a stack of two pizza boxes. People use it first to add a programmable voice coder (vocoder) and sufficient analog and digital signal processing resources for handling various waveforms. In addition, people also experimented with it in field conditions at Ft. Irwin, California. It can handle multiple waveforms underlining its extreme utility. Besides, its construction from standardized COTS components was valuable in defense equipment. You should know that COTS stands for commercial off-the-shelf.
DMR of the US Navy followed SPEAKeasy-II. As a result, it becomes a four-channel full duplex SDR containing multiple modes and waveforms. Besides, it can remotely control an Ethernet interface using the Simple Network Management Protocol.
These SPEAKeasy-II and DMR products help to define waveform features in software. Besides, it helps to develop a proper software architecture enabling the port of the software to an arbitrary hardware platform. In this case, it allows you to get hardware independence of the waveform software specification. Moreover, the step enables the hardware to evolve its architecture from the software. As a result, the hardware gets free and keeps on growing.
SDR Radio Applications:
People can use it in many areas.
Mobile Communications:
These are lucrative in this field. Hence, you can upgrade the software to apply changes to any standards. Besides, you can add new waveforms similarly by upgrading the software. You don’t need to change hardware in this case and use it remotely to offer considerable savings in cost.
Research & Development:
It is useful in many research projects. You can configure these to offer the correct receiver and transmitter. Hence, you don’t need a complete hardware design from scratch.
Military:
The military allows these to reuse hardware and update signal waveforms.
Other applications:
You can use it for other applications where the technology is used.
Top Five Best SDR Radios:
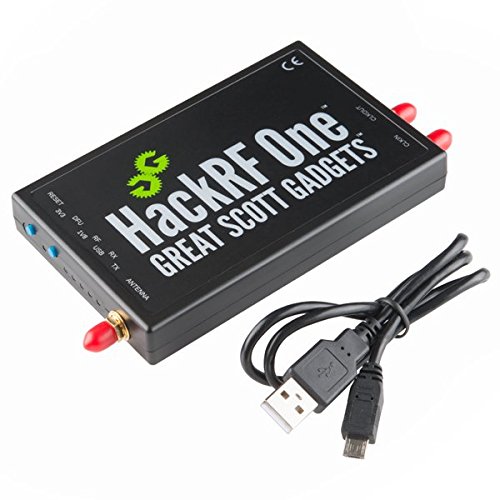
HackRF One Software Defined Radio (SDR)
 Description:
The product allows you to use, test, and develop modern and next-generation radio technologies. You can use this open-source hardware platform as a USB peripheral, and it is specially programmed for stand-alone operation. It comes with an injection molded plastic enclosure also.
Features:
Accessories: It has a HackRF One, an ANT500 antenna, 4 SMA antenna adapters, and a USB cable.
Signal: It can transmit and receive a signal from 1MHz to 6GHz.
Software Applications: The model supports different SDR software applications. You can connect different antennas using adapters. It includes F-connector, N-connector, BNC, and PAL antennas.
Pros:
- Installation support
- Different software applications
Cons:
- Poor software support
-
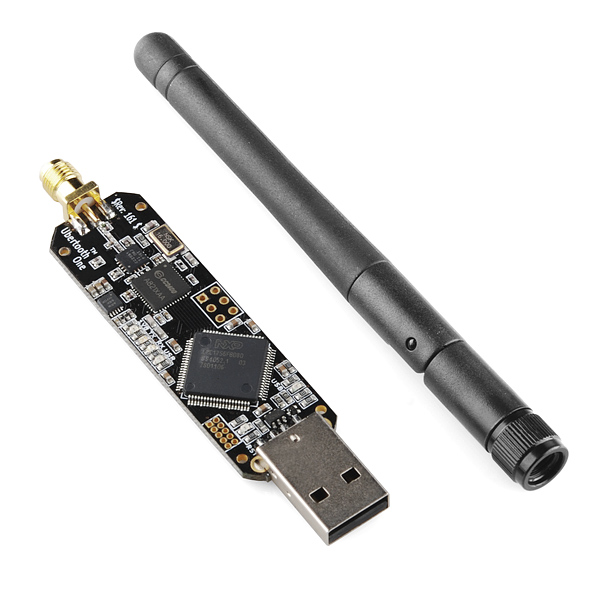
Ubertooth One SDR
 Description:
The model is an open-source 2.4 GHz wireless development platform. If you are looking for any Bluetooth experimentation, go with the method. It can send and receive 2.4 GHz signals. In addition, the product allows you to operate in monitor mode and monitor Bluetooth traffic in real-time.
Features:
Design: The Ubertooth One module is available in a custom shielded aluminum enclosure. Besides, it comes with a 2.4GHz duck antenna.
Warranty: All components come with a warranty for one year directly through Nooelec.
Great Support: The model is a configurable 2.4GHz transceiver providing great application software and support. Besides, it can provide suitable transmit power and sensitivity for 2.4GHz development.
Connector: It has an expansion connector you can use for inter-Ubertooth communication or other future uses.
Pros:
- Expansion connector
- Great application support
- One-year warranty
Cons:
- Not for beginners
-
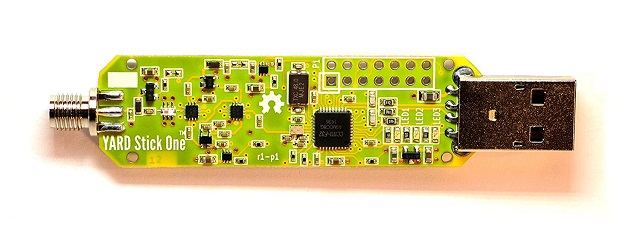
YARD Stick One USB Transceiver & 915MHz Antenna
 Description:
The product allows you to transmit or receive digital wireless signals under 1 GHz frequencies. It needs a radio circuit similar to the famous IM-Me, and you need to customize IM-Me firmware to operate the functions. In addition, the product provides RfCat firmware.
Features:
USB Transceiver: The transceiver allows you to transmit and receive the most famous license-free bands.
Amplifier: This product can receive and transmit amplifiers.
Connect Antenna: Its Female SMA connector enables you to connect an external antenna.
Pros:
- Female SMA connector
- USB transceiver
Cons:
- Quickly broken
-
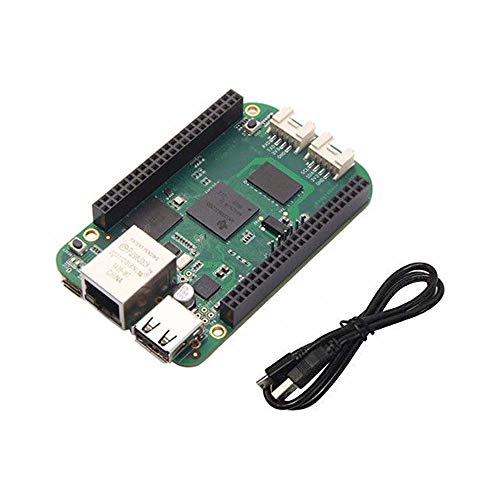
Seeedstudio KiwiSDR Kit Software Defined Radio with BeagleBone Green
 Description:
It comes with many utility stations and amateur radio transmissions. The model ranges from 10 kHz to 30 MHz. With the help of this custom circuit board, you can attach it to the BeagleBone GreenorBeagleBone Black computer. Hence, it enables you to add an antenna, power supply, and network connection. Besides, you can get the software available on a micro-SD card.
Features:
Connection: It comes with a browser-based interface offering four user connections. Every connection can offer a receiver channel over the entire spectrum.
Design: The model comes in Multi-channel, parallel DDC design. It uses bit-width optimized CIC filters.
Performance: This product can offer excellent performance at VLF/LF.
Pros:
- Great performance
- Parallel DDC design
Cons:
- Software bugs may exist
-
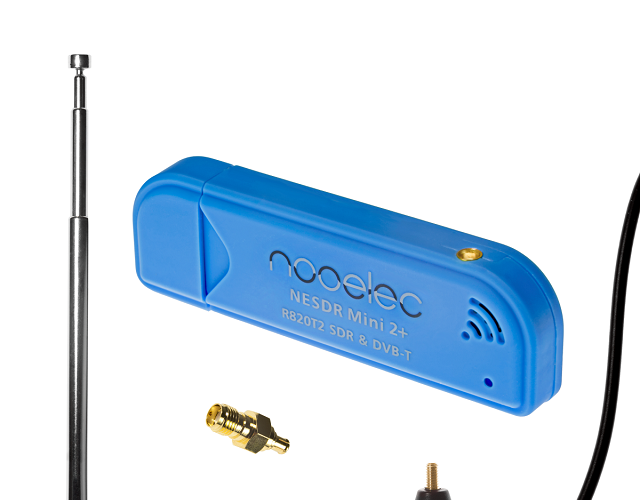
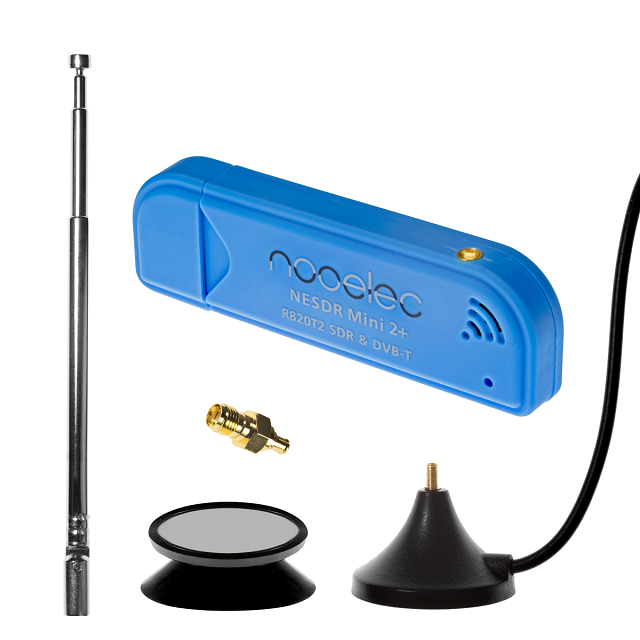
NESDR Mini 2+ 0.5PPM TCXO RTL-SDR & ADS-B USB Receiver Set w/ Antenna
 Description:
The product has high accuracy and comes with a re-designed RF-suitable power supply. Besides, the model has improved capacitors and inductors. You can reduce power consumption while improving sensitivity and lowering the noise floor.
It is a great model for learning software-defined radio. In addition, it can offer ADS-B, police & fire scanning, trunking, and satellite images.
Features:
Design: It is ideal for lower power consumption & noise and better sensitivity.
Accessories: The new design comes with an RF-suitable 3.3v power supply with 1/10th of others’ noise, a shielded power inductor for better EMI rejection, etc.
Excellent Performance: It comes with an R820T2 tuner that can substantially improve performance over R820T-based devices.
Pros:
- Substantial performance
- Shielded power inductor
Cons:
- Online instructions are not useful
SDR Radio Best Buying guide:
Frequency coverage:
These can offer an excellent level of frequency coverage, and they can cover a higher frequency band than needed. These can often extend up as far as 5 or 6 GHz. However, the performance may fall at either end of the cover band.
When it comes to the direct conversion to and from the digital domain, the performance of the analog to digital converter is the limiting factor for the receiver and digital to analog conversion for a transmitter. However, the advanced technology indicates that the top frequencies have considerably increased in recent years, and you should know that you can use an analog frequency converter sometimes.
Transmit & Receive:
Generally, these can receive signals only, but you can use them for transmission also. The signal is produced within the signal processing area and passed through a digital to analog converter rather than a digital to analog converter.
Mostly, you will need only a receiver, whereas most units have a reception capability. Some can offer the generation of signals. Multiple different software is available which you can run on the PC and then interfaces with the radio itself. Matlab, HDSDR, SDR Touch, Planeplotter, SDR#, etc., are names of a few software.
A few devices can support some programs or Apps, whereas a few use their own to gain closer integration and better performance. While purchasing a model, you must check which programs you can use to check compatibility. In addition, you may need extra packages to support the software. Before purchasing the hardware, check which is required.
Remember that you may need extra costs for the programs. Therefore, the entire cost to purchase a model may be more than the hardware.
PC Operating Systems:
Most models can run on a windows PC. However, it is available for other platforms, but you need to ensure that you can run on platforms like Linux, Android, iOS, etc. Also, before purchasing any SDR or SDR software, you must check the compatibility with the OS used.
PC Hardware Needed:
To run the software package, you will need a certain hardware level. Before buying any model, check if your system can run the required software.
Most modern PCs should have the capability, but older machines might not give you the benefits. Therefore, you need to check it before purchasing.
Dynamic Range:
Receiving weak signals while any strong signal is available is one of the major challenges. Sometimes, strong signals create problems associated with overloading, stopping the wanted weak signals from being received.
Frequency Accuracy:
You need to consider the frequency accuracy of the model you will buy. The clock will define the frequency accuracy, which must be very accurate. Sometimes, you must know the exact receive frequency, which relies on the clock’s accuracy within the SDR. You may use temperature-compensated crystal oscillators also. Specifications will matter on parts per million for temperature rise, aging rate, etc.
Power Requirements:
Regarding dongle-based SDRs, the power requirement is an important essential factor. First, you must check the power capability of the USB port, which you can use. Most USB-based devices consume less power comparatively, but a few may need a reasonable level of power to be provided.
Cooling Requirements:
A few USB dongle types may need a reasonable amount of power. Therefore, they can run rather warmly. Cooling is not a problem for the higher-cost units though you link it to a computer via a USB link.
The Bottom Line:
Usage of SDR radios is increasing daily. The main reason behind this is that the processing power becomes cheaper to implement. As a result, people can use it for high-end applications. However, people use it in lower-end models also. Therefore, you can configure the technology to meet your needs of you.
 Description:
 Description:
 Description:
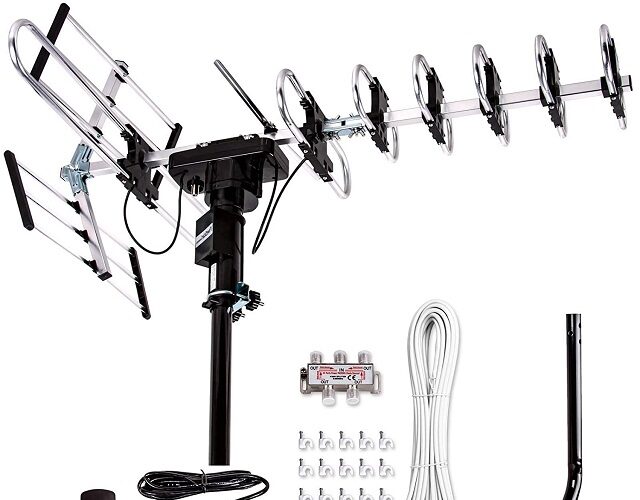
 Description: This model is a decent option for people willing to use a top-quality product. It is one of the models that enable you to install easily in your home. Besides, the product can offer a maximum range of up to 150 miles.
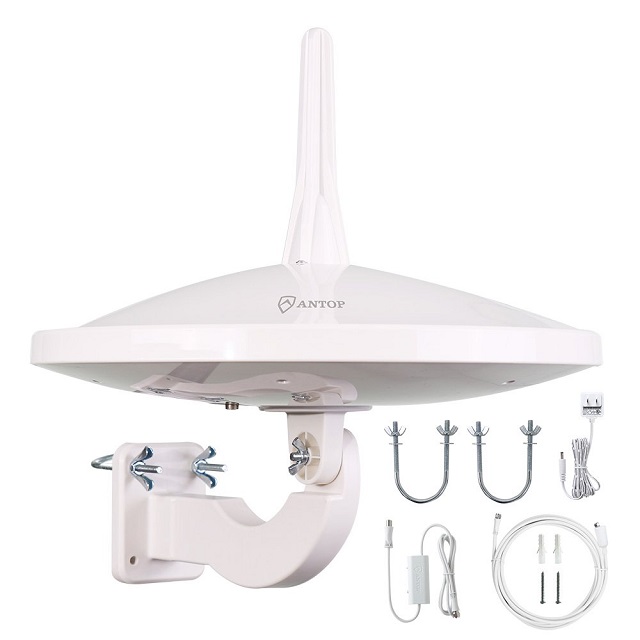 Description:
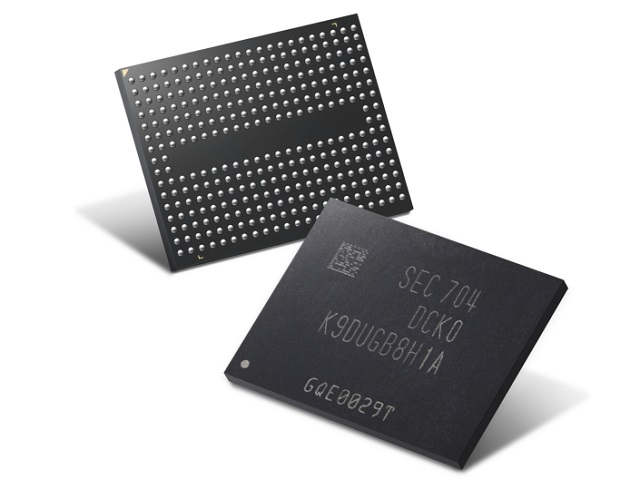
 It comes with inbuilt solid-state chips. In addition, each chip has an array of flash memory cells.
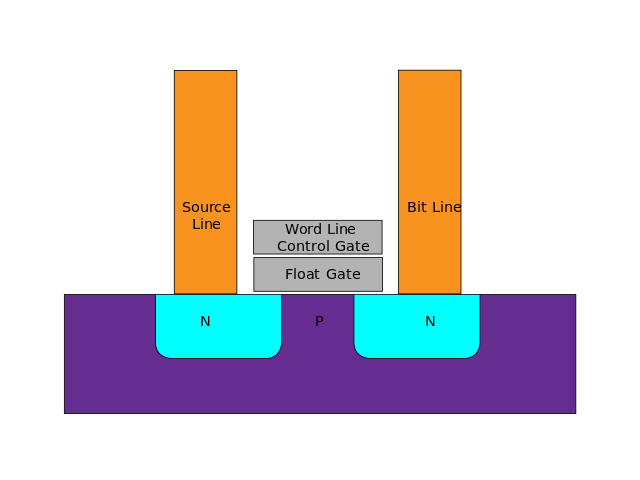
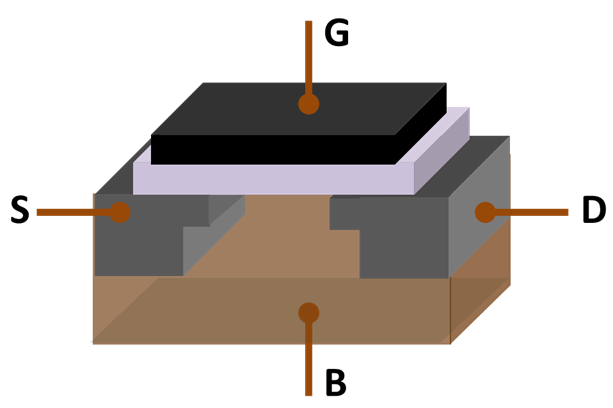 In flash memory, each cell resembles MOSFET (metal-oxide-semiconductor field-effect transistor). However, it varies with the MOSFET transistor gate. MOSFET has only one gate, whereas the other has two gates. Each cell works as an electrical switch in which current flows between source and drain. Further, it is controlled by a floating gate and a control gate. The control gate functions similar to the gate in the MOS transistor. But below the control gate, a floating gate is placed. The floating gate is insulated entirely using an oxide layer. The floating gate is placed between the control gate and the MOSFET channel.
 Each cell in the NOR Flash’s one end is directly grounded, and the other end is connected directly to the bit line. This arrangement behaves as the NOR gate. While one of the word lines connected to the control gate is brought high, the relative storage transistor will pull the output bit line low. For embedded applications that require distinct non-volatile memory, the NOR Flash suits best. Their low read latencies allow both direct code execution and data storage in single memory products.
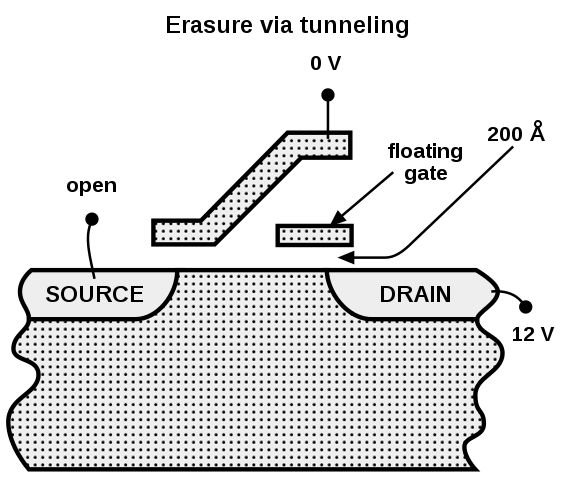 A high reverse polarity voltage is applied between the control gate and source terminal to erase the NOR-Flash cell and pulls the electrons off the floating gate through quantum tunneling. The latest model NOR chips are divided into multiple erase segments called blocks or sectors. The erasing operation can be done block-wise. Moreover, all the cells in the erase segment will be erased altogether. The Programming of NOR cells is done one word or byte at a time.
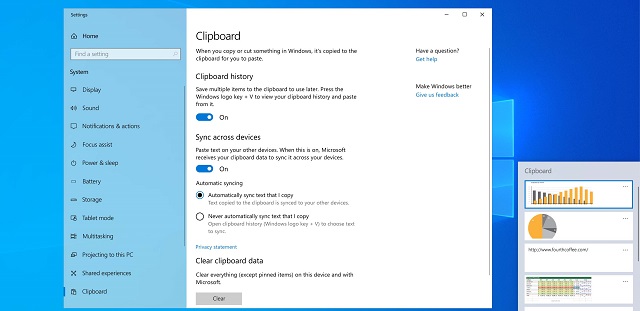 How to Enable the Clipboard App:
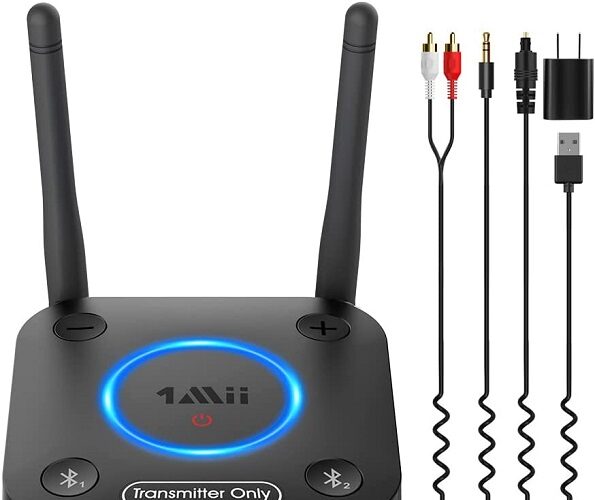
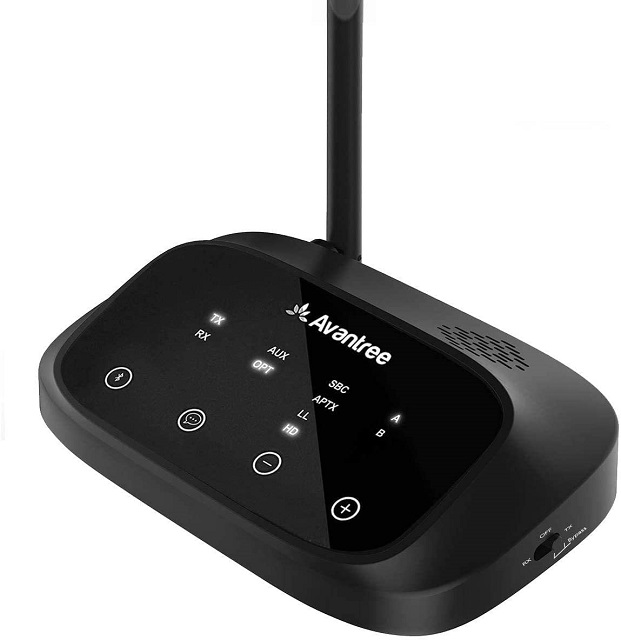 Description: The product is aptX Low Latency certified. You can get the ultimate “no lip-sync delay” experience while using the device with a speaker or headphone supporting aptX Low Latency or FastStream. Thus, it makes you sure that you will get perfectly synced visual audio for every content you will watch on display.
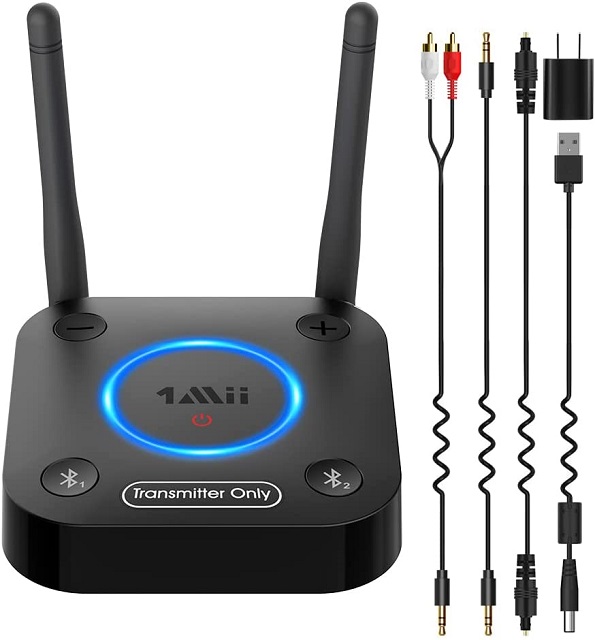 Description: The product comes with the recent Bluetooth 5.0 (CSR8675) version. Besides, it is compatible with Qualcomm aptX HD, aptX Low Latency, aptX, and AAC decoding. If you find the device supporting both codecs, you can switch them to alternate between HD and low latency.
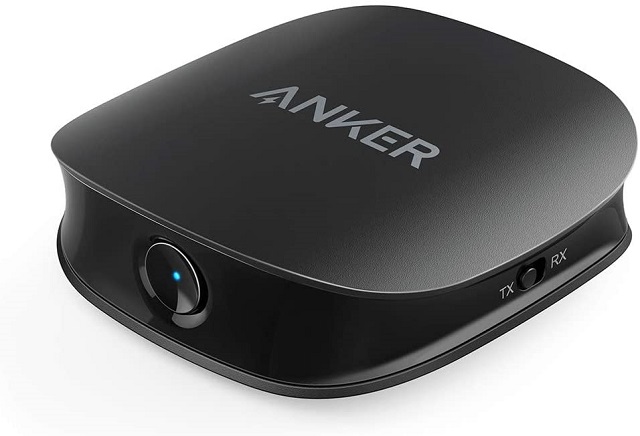 Description: The product comes with a 2-in-1 Design that means a transmitter and receiver in one body. As a result, the model can support Bluetooth functions.
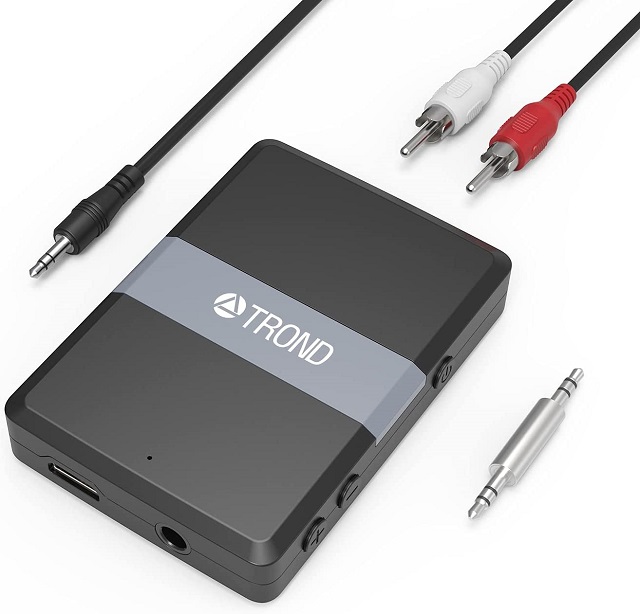 Description: Along with a premium CSR8670 chipset, the model is also compatible with the latest Bluetooth V5.0. Besides, it features aptX and aptX Low Latency applicable to both the TX and RX modes. The aptX enables you to enjoy CD-quality sound wirelessly over BT connections with TV, phones, tablets, and other aptX-source devices. Besides, the aptX Low Latency allows you to watch a video and hear audio wirelessly at a time in a synchronized fashion. Moreover, you will not experience any audio delay in this case.
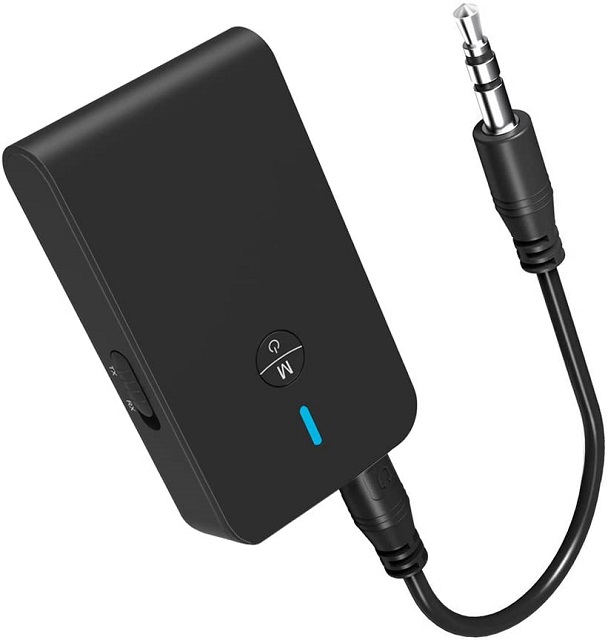 Description: The product allows you to relax on your couch and watch TV with headphones, and it will not disturb any person staying in the room. The model enables you to stream music from phone or tablet to speakers easily.
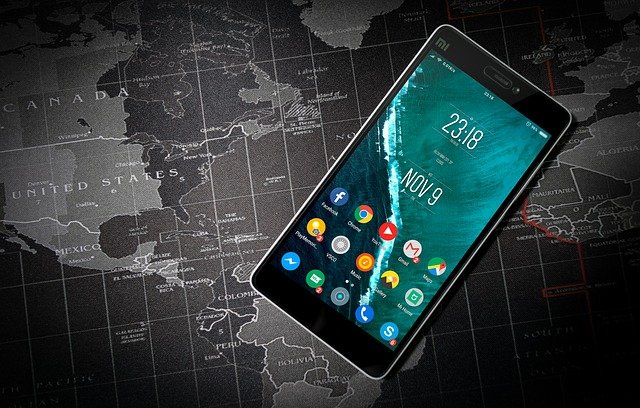
 Multiple mobiles are there supporting the ping functionality. But mobiles released currently don’t come with the feature enabled. Therefore, if you are willing to ping the devices, you will require specialized apps on the mobile. PingD, Google Find My Phone, etc., are a few examples helping to return the ping request. Therefore, you should ensure that you have the apps installed and configured on the system before you proceed. Besides, remember that you cannot ping a mobile that is turned off. However, having a firewall installed on the system does not allow other devices to ping the mobile. Besides, if the AP Isolation feature is turned on the router, other devices may not work.
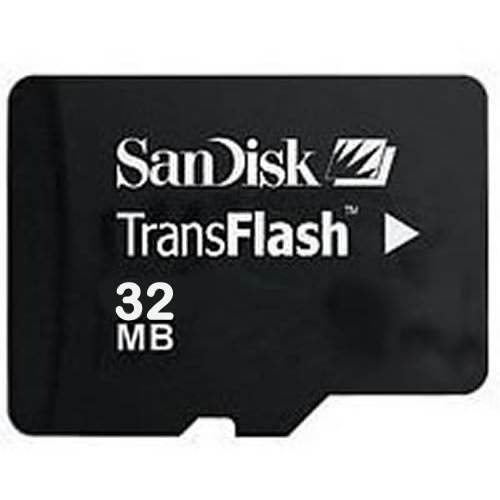
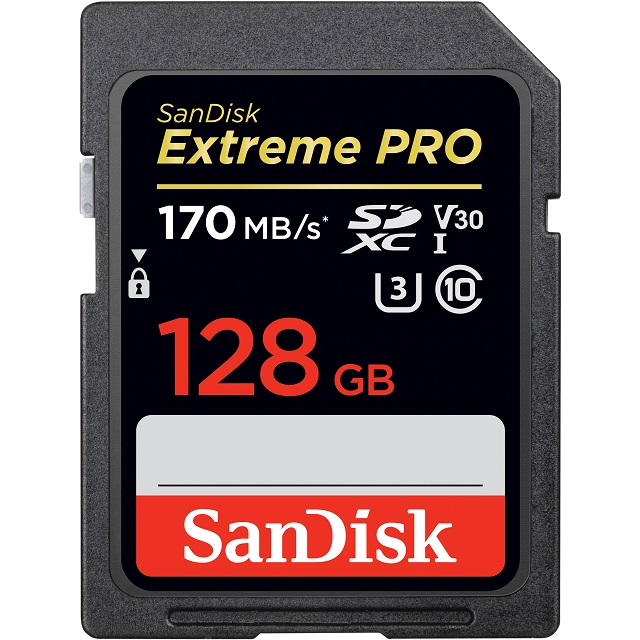 Description: SanDisk offers its products in 32 GB, 64 GB, 128 GB, 256 GB, 512 GB or 1 TB storage options. This product has a read speed of a maximum of 170MB per second, while the write speed is a maximum of 90 MB per second. It helps shoot 4K videos and store them using the digital camera.
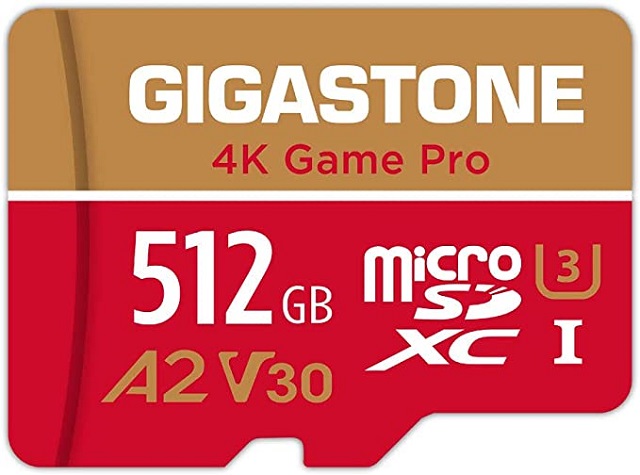 Description: It is best for Nintendo Switch. Generally, it has 32GB or 64GB of internal storage that relies on the model. So whether you are willing to store plenty of downloaded games and related data within a handheld console, you can go with this one.
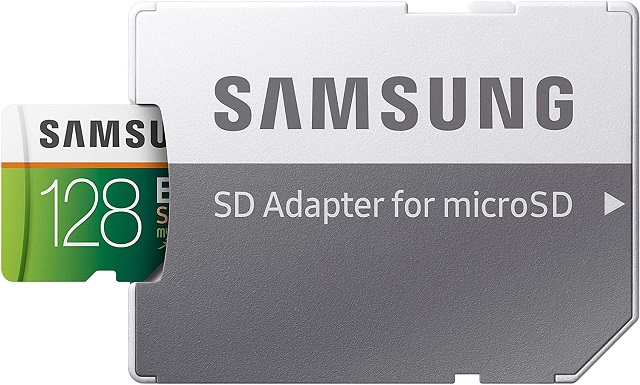
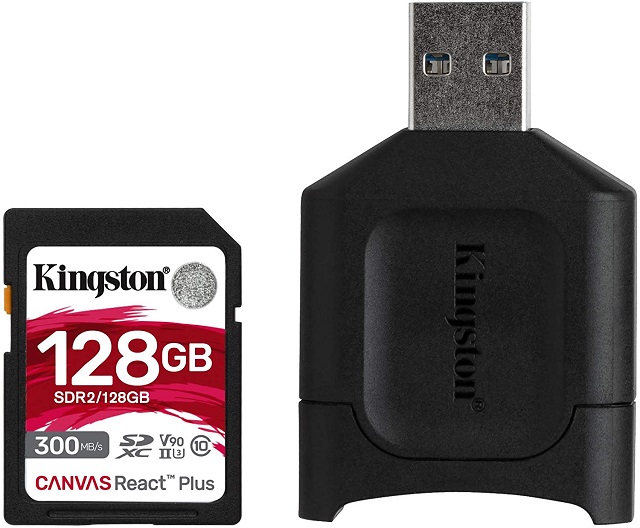 Description: Are you using two cameras or devices— one is compatible with an SD card, whereas the other one is with a microSD card? Then, you should use this with an adapter. The product is equipped with an SD adapter and a MobileLite Plus USB card reader. This USB reader can work as a discounted bundle.
 Description: Do you want to have huge storage from a high-end flash memory card? Then, the product is ideal for use. It is slightly on the costlier side, but the features justify everything.
.)
, etc,.)